Fill Editor
The Fill dialog box lets you to change – at design-time - how the filling in the canvas and some element's properties are rendered. Fill Styles comes in four different types and are described in details below.
- Solid
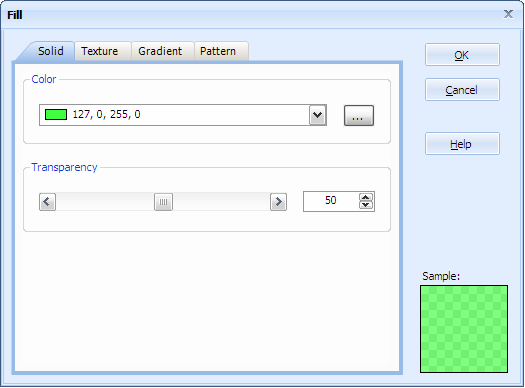
A solid color will be used to fill the target surface. Notice that you can specify a transparency value ranging from 0 (totally transparent) to 255 (totally opaque) for the solid color. If a transparency is specified, the color value is divided in four component values; alpha, red, green, and blue respectively. Please, see the sidebar "Transparent Fills" regarding transparent fills and output image formats.

A Solid Fill sample with 50% of transparency set.
- Texture
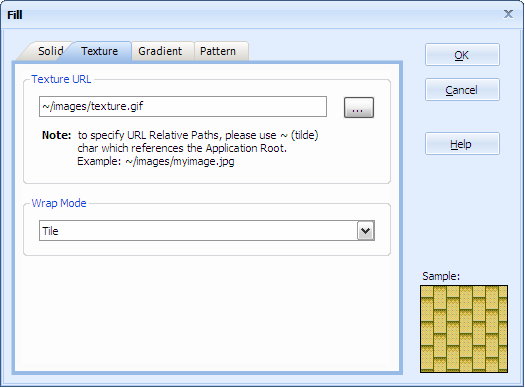
An image file path or URL representing a texture will be used to fill the target surface. The Wrap Mode specifies how the texture is tiled when it is larger than the target area.
In the following figure this GIF image file (texture.gif located in the 'images' folder of an ASP.NET Web Application project) is used. Please, see the sidebar "How to specify Relative URL Image paths" regarding Relative URLs.

- Gradient
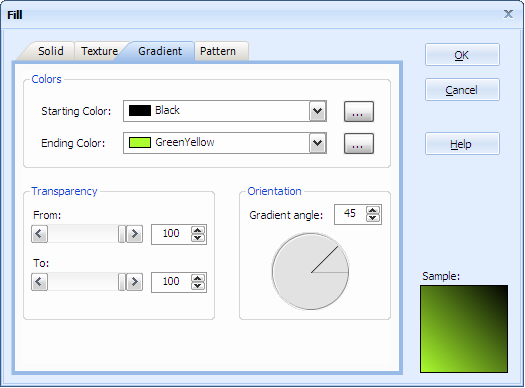
A combination of two solid colors making a linear gradient will be used to fill the target surface. Just as for Solid fill type, you can specify a transparency value ranging from 0 (totally transparent) to 255 (totally opaque) for the starting and ending colors. If a transparency is specified, the color value is divided in four component values; alpha, red, green, and blue respectively. Please, see the sidebar "Transparent Fills" regarding transparent fills and output image formats.
The gradient can be set with an angle value which is measured counterclockwise from the x-axis and ranging from 0 to 360 degrees.

A Gradient Fill sample at 45 degrees.
- Pattern
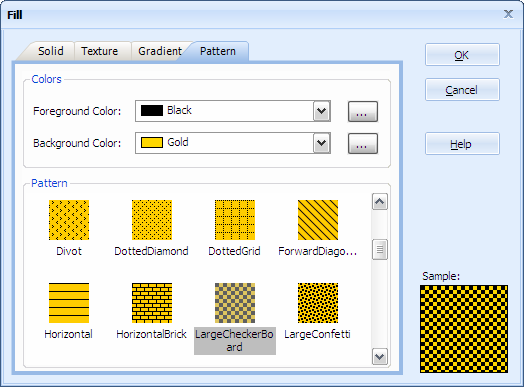
A combination of two solid colors and a graphic pattern will be used to fill the target surface. You can choose from the list, one of the 56 different patterns available.

A "LargeCheckerBoard" Pattern Fill sample.

 Visit Neodynamic's website.